How to Install Wood Paneling on Walls: A Step-by-Step Guide
A guide to installing wood wall paneling on walls. Transform any room with stylish, durable wood panels. Perfect for DIY enthusiasts and home improvement projects!
11/18/20244 min read
How to Install Wood Paneling on Walls: A Step-by-Step Guide
Table of content
Wood Wall Panel Installation Guide
Step-by-Step Guide: How to Install Wood Paneling on Walls
How to Decorate Wood Panel Walls
Wood paneling is a timeless and versatile design element that can transform any room, adding warmth, texture, and character to your space. Whether you’re looking to create a rustic, modern, or traditional aesthetic, installing wood paneling on walls is a rewarding DIY project that can elevate your home’s interior. In this guide, we’ll walk you through the step-by-step process of how to install wood paneling on walls, share tips for a seamless installation, and explore creative ways to decorate wood panel walls.
At Sony Sentral Industri, we specialize in high-quality wood wall cladding solutions, including premium teak wall cladding. Visit teakwallcladding.co.id to explore our range of sustainable and stylish wood paneling options perfect for your next project.
Wood Wall Panel Installation Guide
Preparation: Tools and Materials You’ll Need
Before starting your wood paneling project, it’s essential to gather the right tools and materials. Proper preparation ensures a smooth installation process and professional-looking results
1. Tools Required:
Measuring tape
Level
Saw (circular or hand saw)
Nail gun or hammer
Adhesive (if needed)
Sandpaper or sander
Paintbrush or roller (for finishing)
2. Materials Needed:
Wood panels (choose from options like teak, pine, or reclaimed wood)
Nails or screws
Wood filler
Primer and paint or stain (optional)
Spacers (for even gaps)
3. Preparation Steps:
Measure the wall area to determine the amount of wood paneling required.
Ensure the wall surface is clean, dry, and free of debris.
If necessary, remove existing baseboards or trim to create a flat surface for installation.
Step-by-Step Guide: How to Install Wood Paneling on Walls
Installing wood paneling on walls is a straightforward process when done systematically. Follow these steps to achieve a professional finish:
1. Measure and Plan
Measure the height and width of the wall to determine the number of panels needed.
Plan the layout, considering the direction of the wood grain and the placement of seams.
Use a level to mark guidelines on the wall, ensuring the panels will be installed straight.
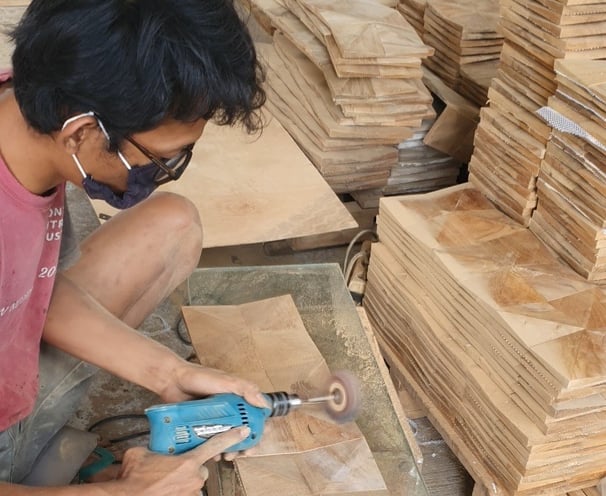
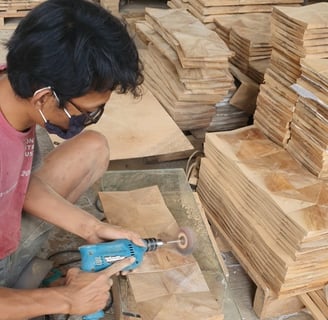
2. Cut the Panels to Size
Using a saw, cut the wood panels to fit the wall dimensions.
Sand the edges of the panels to remove any roughness or splinters.
3. Install the First Panel
Start at one corner of the wall and align the first panel with the marked guidelines.
Secure the panel to the wall using a nail gun or hammer and nails. If preferred, use adhesive for additional support.
Use spacers to maintain even gaps between panels for a polished look.
4. Continue Installing Panels
Work your way across the wall, ensuring each panel is level and aligned with the previous one.
Stagger the seams for a more natural appearance, especially if using tongue-and-groove panels.
5. Finish the Edges
Install trim or molding along the edges of the wall to cover gaps and create a seamless finish.
Fill any nail holes with wood filler and sand the surface for a smooth finish.
6. Apply a Finish
If desired, paint or stain the wood panels to match your decor.
Apply a protective sealant to enhance durability and protect the wood from moisture.
By following these steps, you can achieve a professional-looking wood paneling installation that transforms your space.
How to Decorate Wood Panel Walls
Once your wood paneling is installed, it’s time to decorate and style your walls to complement your interior design. Wood paneling offers a versatile canvas that can be customized to suit any aesthetic, from rustic and traditional to modern and minimalist. Here are some creative ideas to help you make the most of your wood panel walls:
1. Paint or Stain
One of the easiest ways to transform wood paneling is by painting or staining it. For a modern, sleek look, consider painting the panels in a neutral color like white, gray, or beige. This can brighten up the space and make it feel more contemporary. If you want to make a bold statement, opt for a vibrant hue like navy blue, emerald green, or even black. On the other hand, staining the wood enhances its natural grain and adds warmth to the room. Choose a stain that complements your existing decor, whether it’s a light oak for a Scandinavian vibe or a rich mahogany for a more traditional feel.
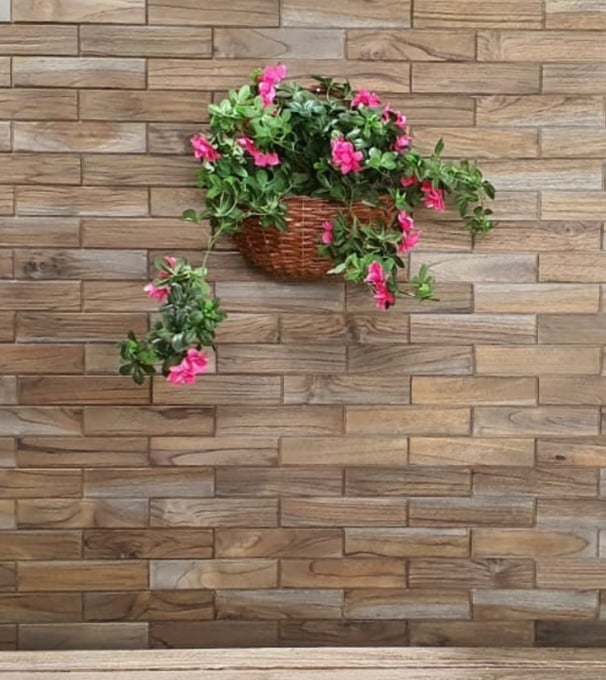
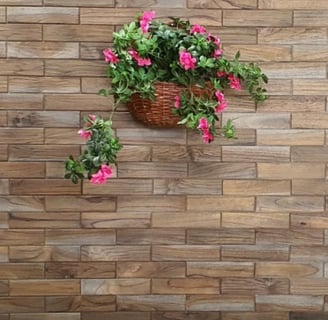
2. Add Wall Art
Wood paneling provides a beautiful backdrop for wall art, allowing you to personalize your space and add visual interest. Hang artwork, mirrors, or shelves to create a focal point on your walls. When selecting frames, opt for lightweight options to avoid damaging the panels. You can also mix and match different sizes and styles of artwork to create a gallery wall that reflects your personality. For a cohesive look, choose pieces that complement the color and texture of the wood.
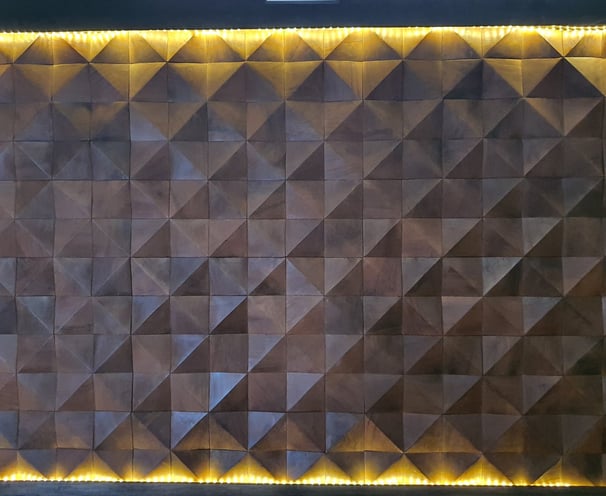
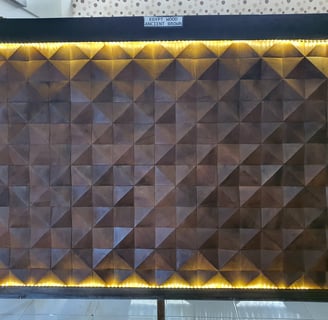
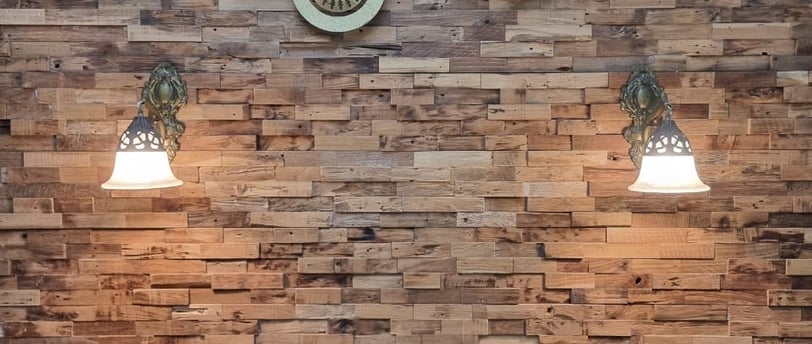
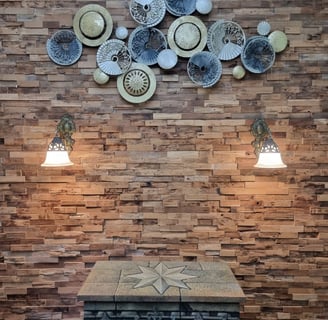
3. Incorporate Lighting
Wood paneling provides a beautiful backdrop for wall art, allowing you to personalize your space and add visual interest. Hang artwork, mirrors, or shelves to create a focal point on your walls. When selecting frames, opt for lightweight options to avoid damaging the panels. You can also mix and match different sizes and styles of artwork to create a gallery wall that reflects your personality. For a cohesive look, choose pieces that complement the color and texture of the wood.
4. Mix and Match Textures
To create a dynamic and layered look, combine wood paneling with other materials like brick, stone, or metal. For example, pair wood panels with a brick accent wall to achieve a rustic, industrial vibe. Alternatively, incorporate metallic elements like brass or copper for a touch of modern elegance. Mixing textures adds depth and visual interest to your space, making it feel more curated and intentional. This approach works particularly well in open-concept living areas, where different textures can help define separate zones.
By incorporating these decorating ideas, you can transform your wood panel walls into stunning focal points that enhance the overall aesthetic of your home. Whether you prefer a minimalist, rustic, or eclectic style, wood paneling offers endless possibilities for creativity and personalization.